July 12, 2025 / Spectrometers / 6 minutes of reading
Introduction
Here’s an inexpensive way to use the camera sensor in your smartphone as a light detector for a spectroscope. With a sheet of folded card and a cheap diffraction grating and slit, you can create a simple but effective smartphone spectrometer!
In recent years several online sources for constructing a smartphone spectroscope have appeared. Some desings use paper or card, as explained in this post, whilst others have used 3D printers to make more solid and rigid versions. As an example, the 3D printing share site Thingiverse lists several designs for smartphone spectroscopes. There are even companies that sell spectrometers specifically designed with the smartphone in mind, such as the GoSpectro. The latter is built with higher quality components but is much more expensive at several hundred dollars.
For this short post I will review the construction of a 20 dollar Smartphone Spectroscope available from Thunder Optics, a very interesting company based in Montpellier, France and who market compact optical spectrometers, UV and visible light sources, accessories and Raman microscopes.
Construction
For 20 dollars (or euros) plus shipping, you receive a sheet of thin black card with a white outline of the cuts and folds that you need to make in order to construct the body of the spectroscope. You also receive 2 gratings of 500 and 1000 lines per mm, and two thin metal slits of 100 and 200 microns.
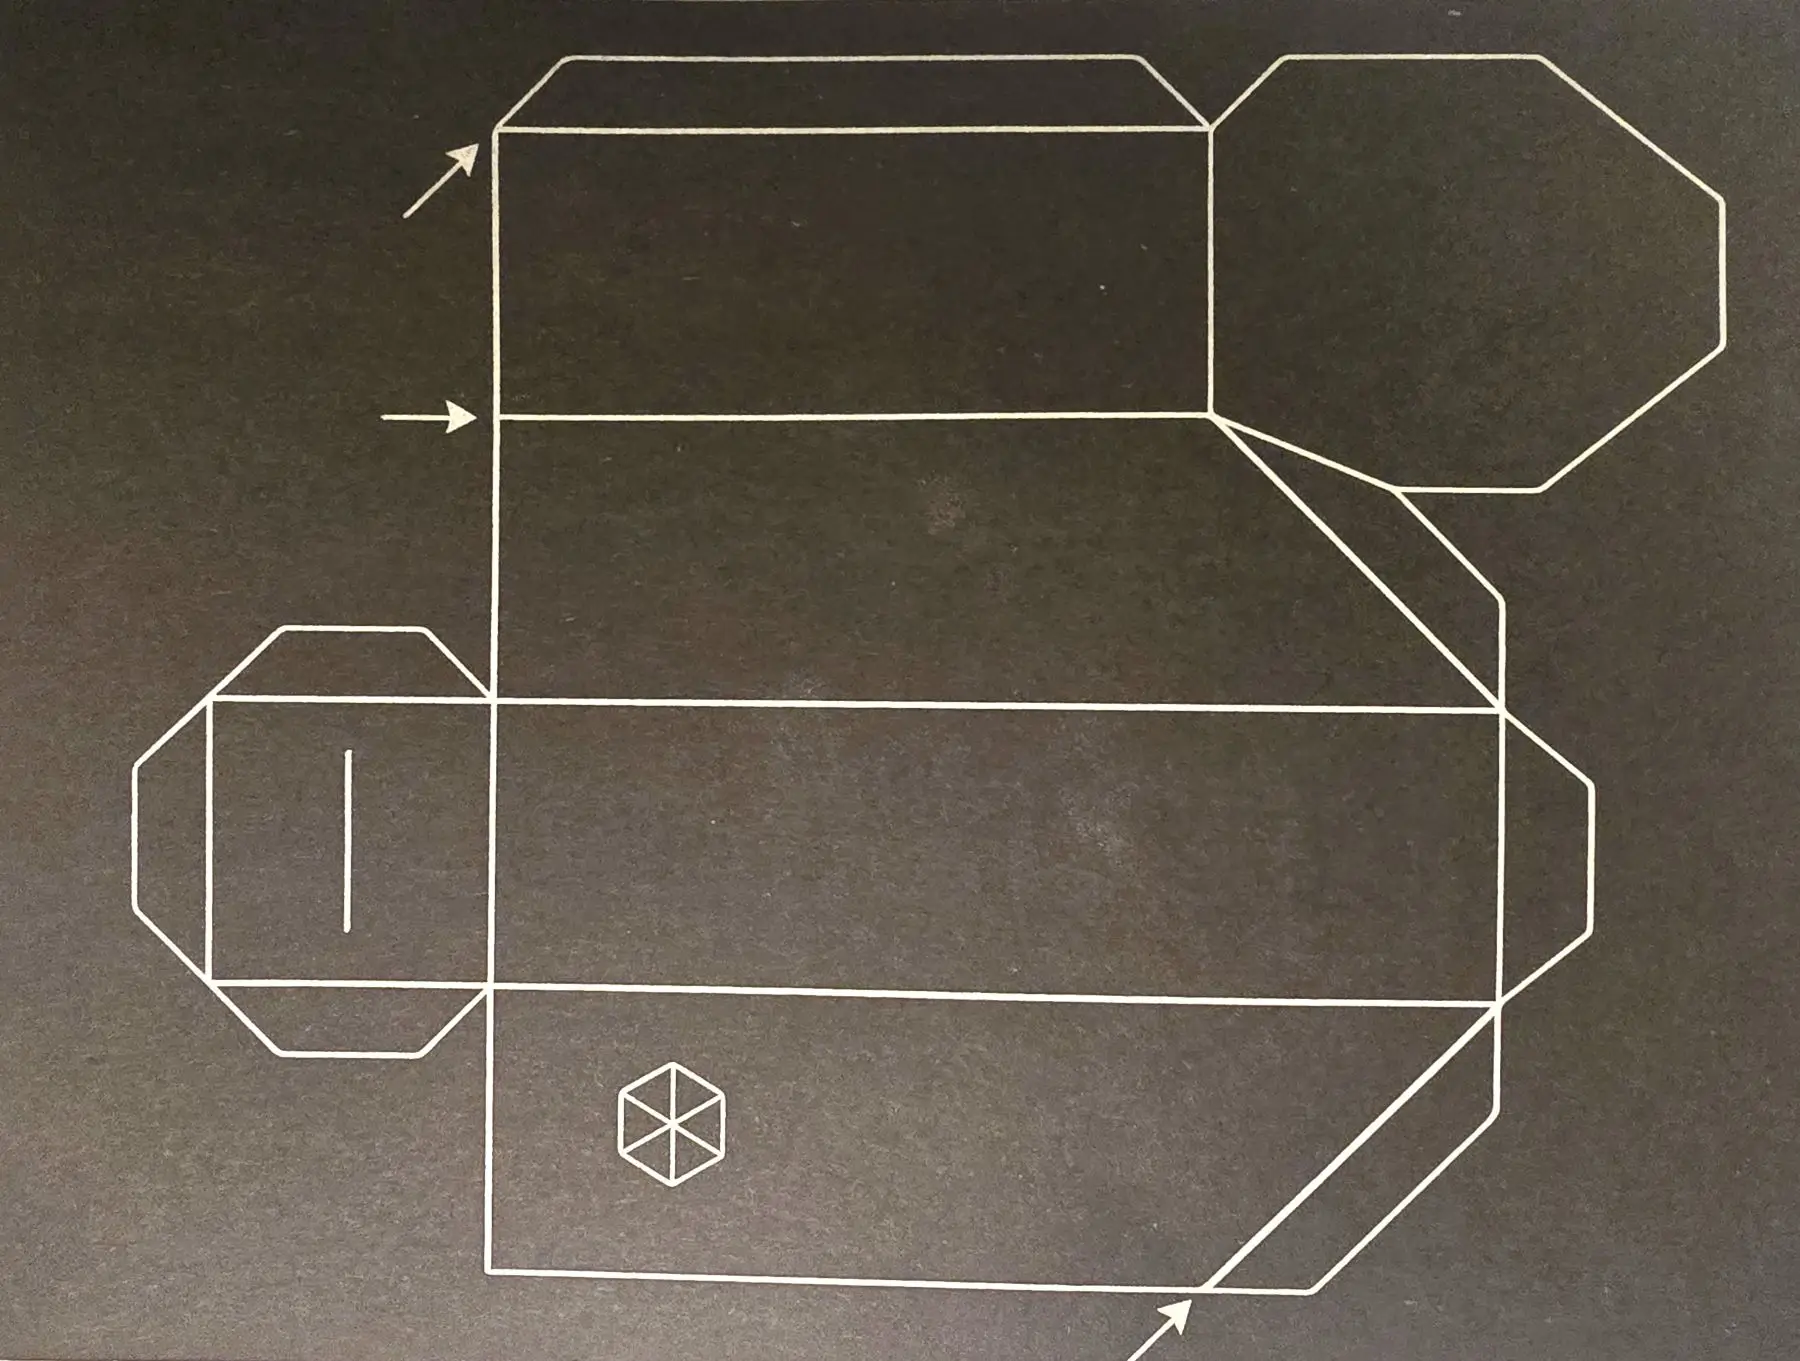
The template for the spectroscope body is shown here:
The whole outer edge of the design is cut out, and folds are made as indicated by the arrows. The “door” to the spectroscope is where the diffraction grating has to be placed. This is the asymetric octagonal shaped section in the top right of the picture above. Unfortunately, the model I received did not actually have any white outline to indicate the precise position for where the grating should go.
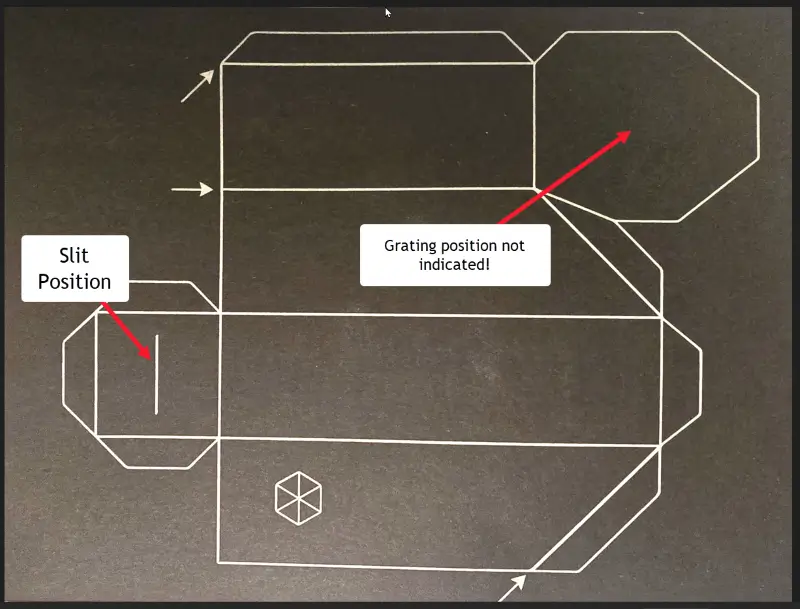
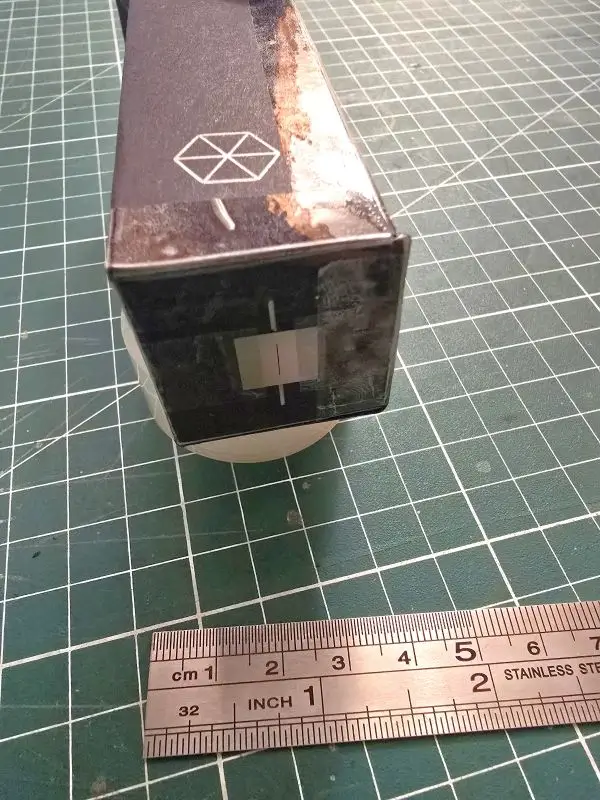
Nevertheless, a square “window” must be accurately cut out of this octagonal side of the spectrometer so that the grating is well aligned with the slit. So in my case this had to be estimated and performed by trial and error. The body was cut and folded according to the simple instructions, which posed no problems, and the various sides of the body maintained in place with PVA glue and/or tape. The position of the slit, which is well indicated in the instructions, and the grating (not so well indicated) is shown here:
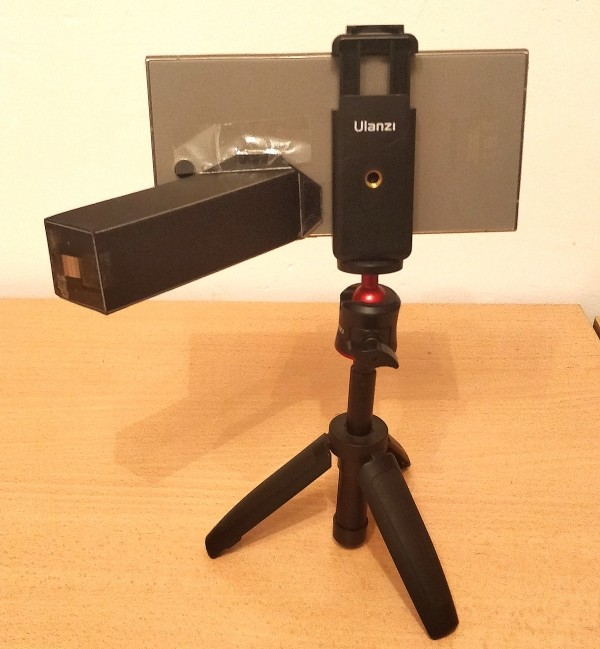
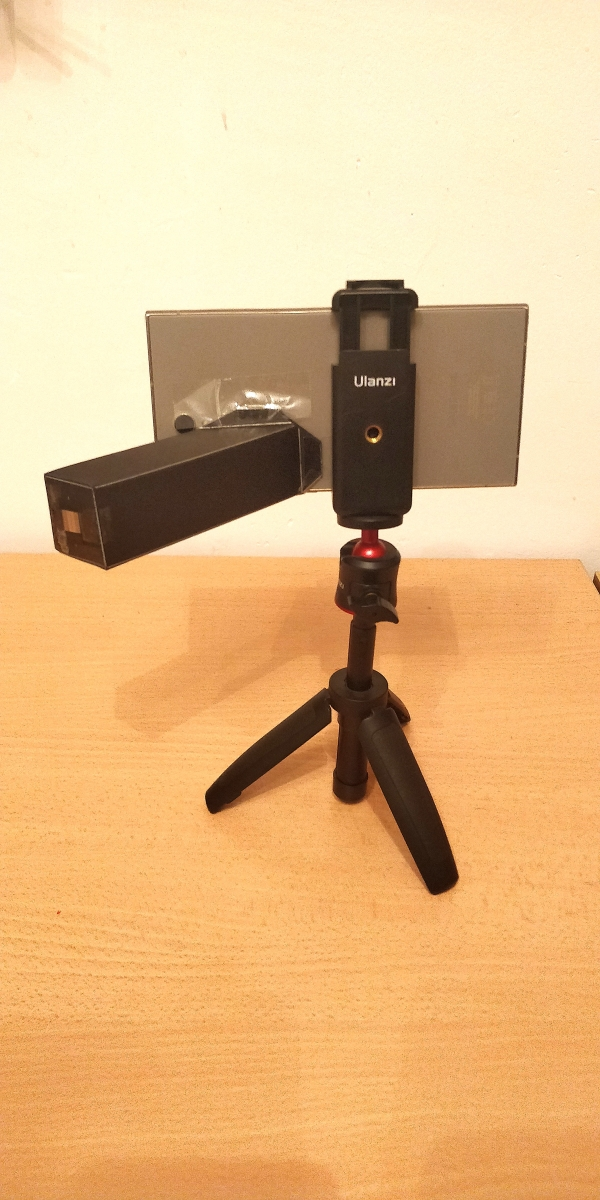
When you have completed it, this little spectroscope should resemble something similar to the following images, which show the slit end, the grating end, and the finished spectroscope attached to a smartphone.
Final Stages
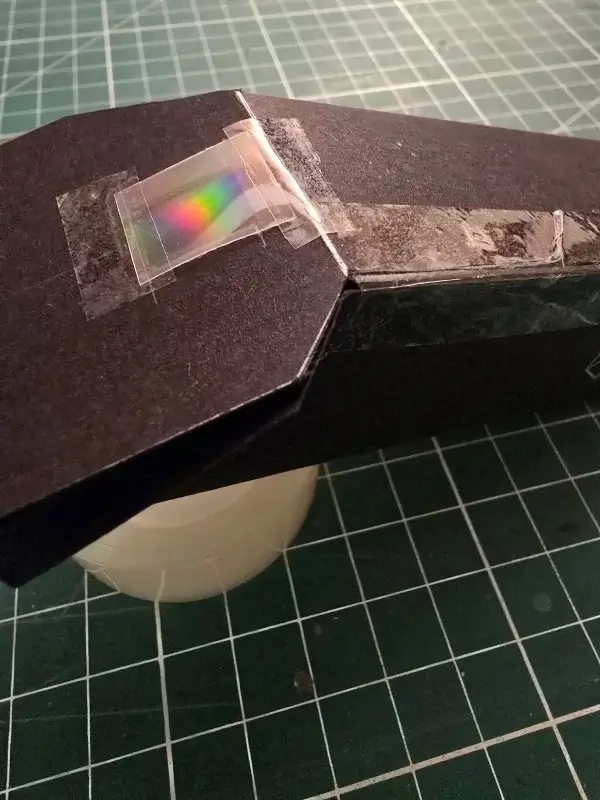
Orienting the grating film correctly is important. The tiny lines (also called grooves) in the grating sheet are totally invisible to the naked eye; but they must be aligned parallel to the slit. In order to get the orientation right, you can hold the film up to a white light source of light with a pair of tweezers to check which way the film disperses a rainbow-like spectrum. If the slit is in a vertical direction, then the “rainbow” should be horizontal.
The spectroscope must then be carefully attached in position to the smartphone with some tape, ensuring that it is located over the front camera lens of your phone. After some trial and error, the familiar rainbow colours of a spectrum can be seen if you point the phone at, for example, an incandescent lamp or LED light bulb. This should confirm that the grating direction is correct.
Testing the Spectroscope - Some Spectra
Some examples of spectra that can be observed with this little gadget are shown below. They were obtained using the higher resolution 1000 lines/mm grating and the 100 micron slit. For very weak intensity light sources the wider 200 micron slit can be used to increase the light entering the spectroscope. Using the lower resolution (500 lines/mm) second grating will also improve the intensity of a spectrum, but it will then be less detailed.
In order to achieve correct exposure and focus, it is recommended to change your phone camera settings manually, rather than using any auto function. Most modern smartphones have a “Pro” menu option to manually adjust focus, camera shutter speed, ISO and white balance (WB). The WB setting should not be changed, since this modifies the colour temperature and changes the relative intensities of any spectral lines that you might detect, and we do want to see the raw spectrum without any white balance compensation.
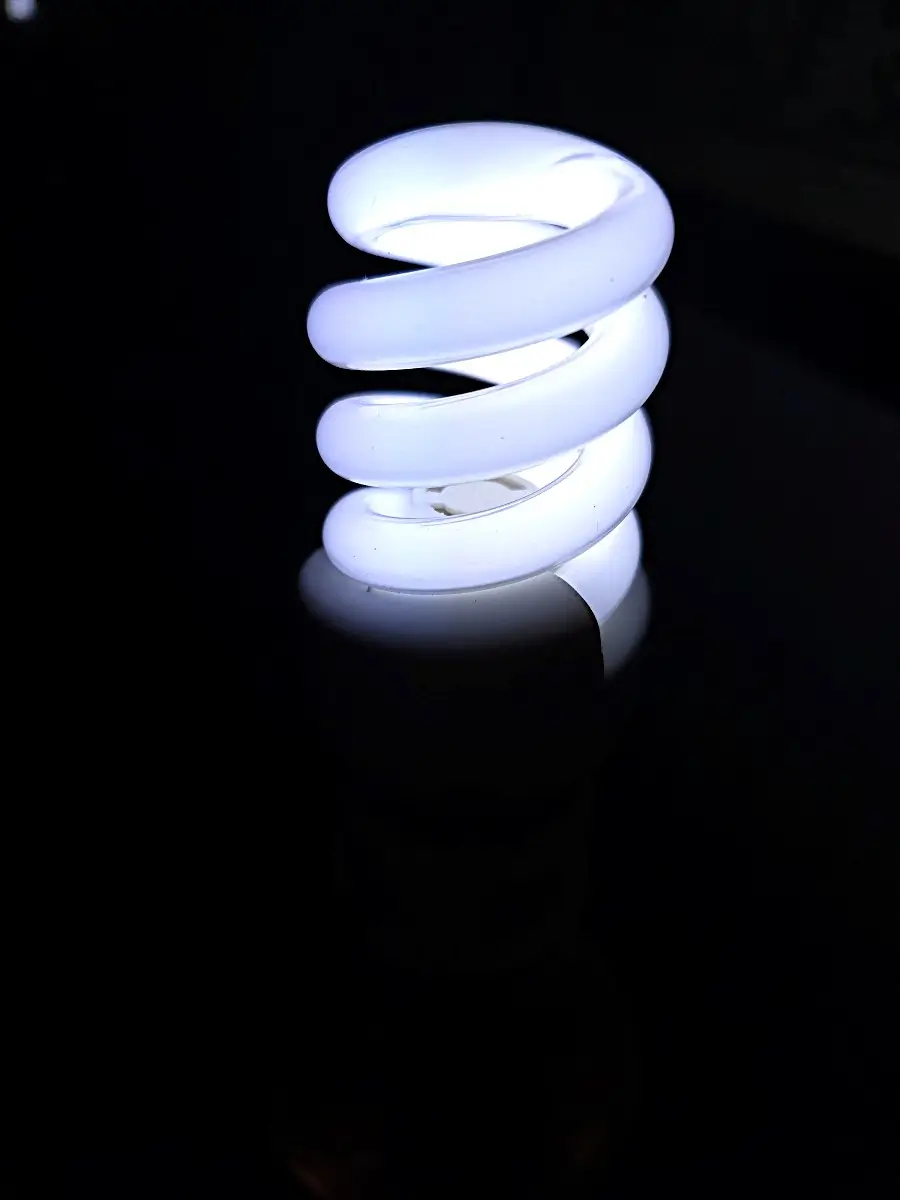
Fluorescent Lamp
Here is the spectrum of a common fluorescent light bulb.
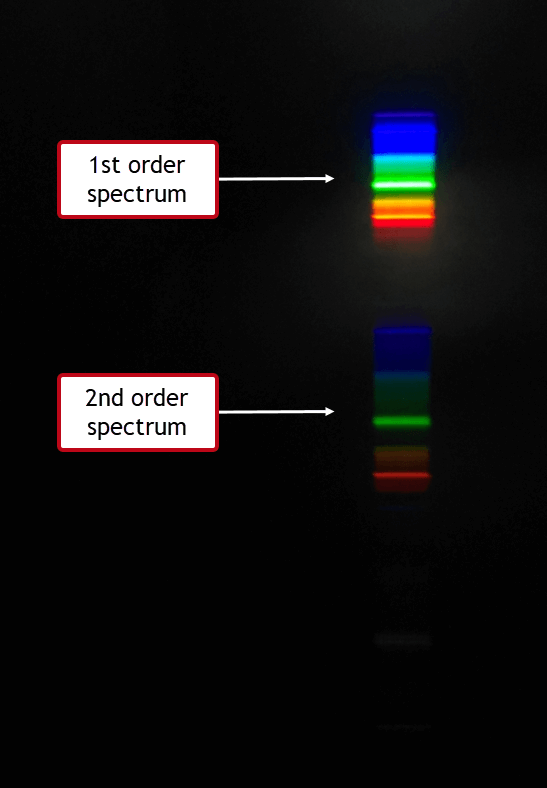
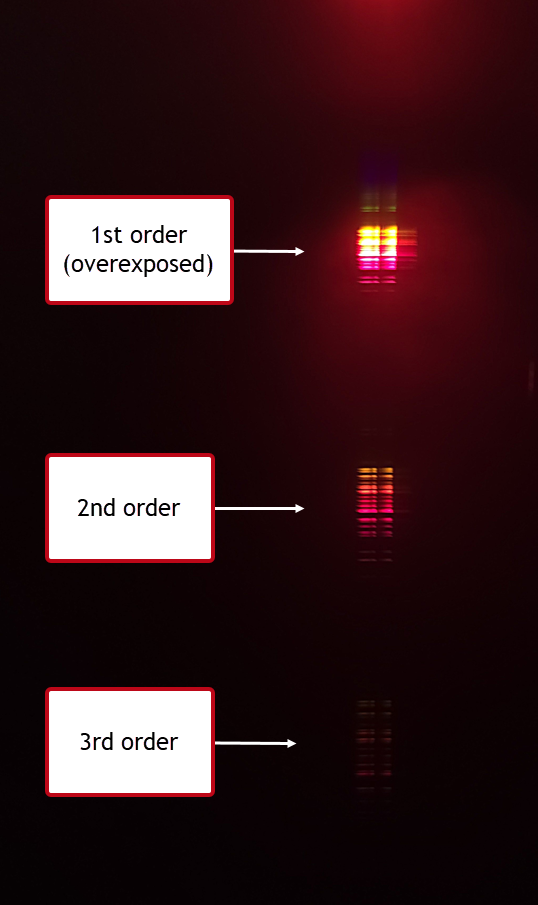
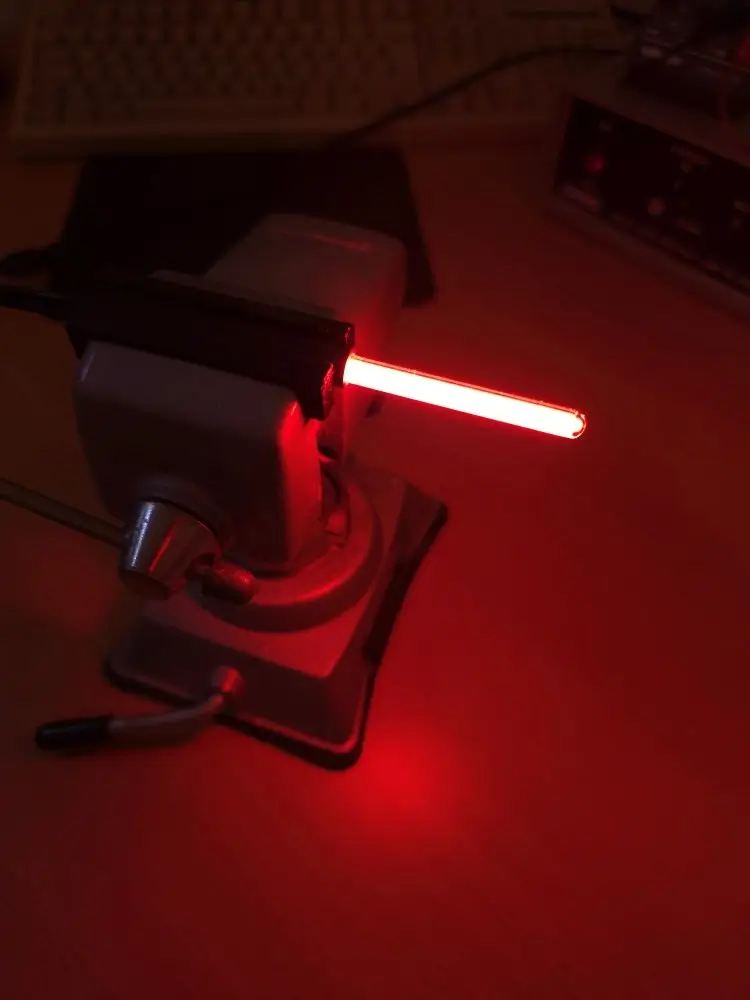
And here is the spectrum from a small neon lamp. The different spectra images correspond to different diffraction orders.
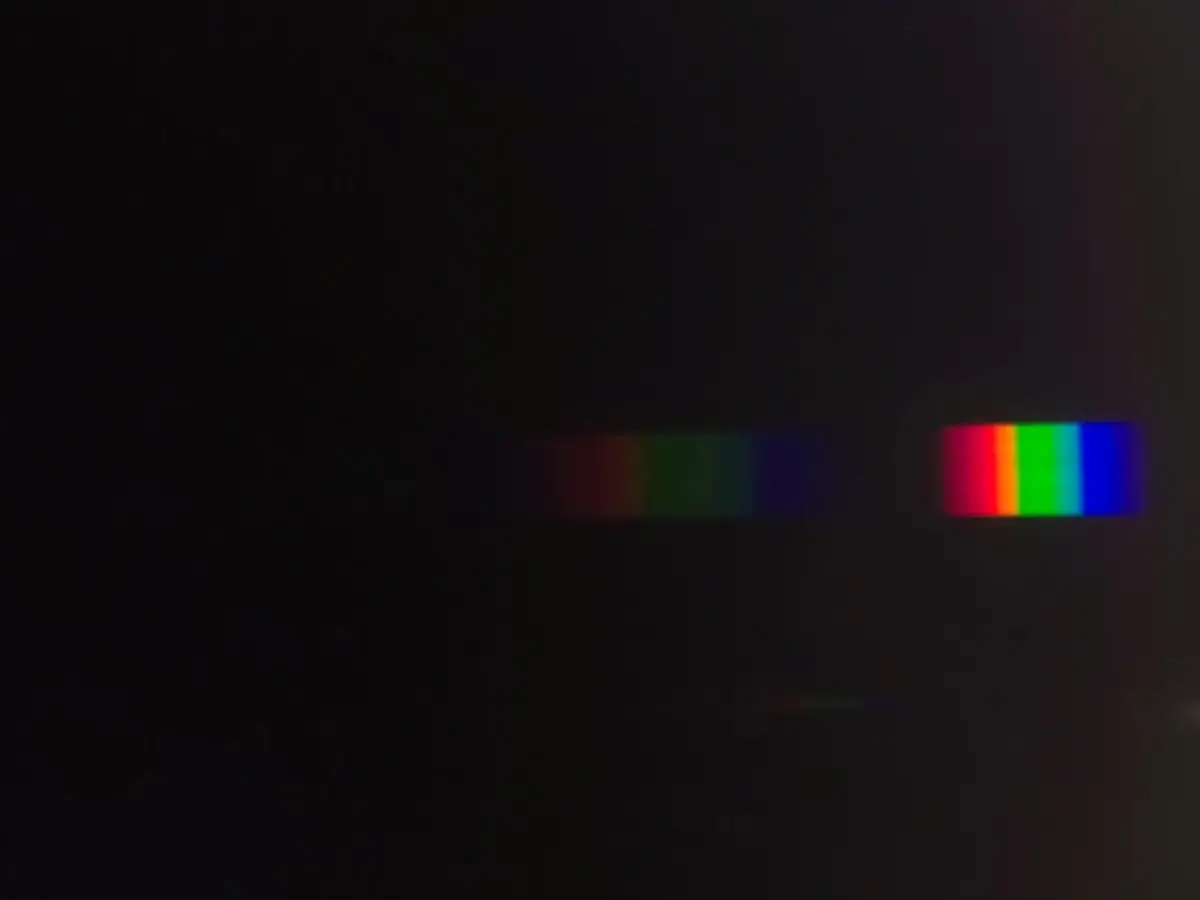
Solar Spectrum
Finally, if you point the phone at a bright blue sky, you obtain the spectrum of the Sun with the following result…
The second order spectrum is just about visible to the left of the “rainbow” on the right in this image (increase your screen brightness if invisible). Just discernable also are some subtle darker vertical lines – the Fraunhofer absorption lines – in the spectrum of our local star.
Overall Impressions
A smartphone spectroscope represents an excellent way to introduce young students to the principles of diffraction and emission and absorption line spectra. This little gadget would form a useful part of any STEM curriculum for the appropriate age range in physics, chemistry and astronomy classes. Since the vast majority of young students own smartphones these days, having them construct their own spectroscopes and learning the basic principles of spectroscopy, together with how a spectroscope actually functions, is a big plus.
This particular model from Thunder Optics, whilst inexpensive, does come with a couple of negatives. The absence of where exactly to install the grating film has already been mentioned above, although this may well have only occurred with the model that I personally received. Perhaps some better quality control at the factory is needed here.
A choice of two gratings of different resolution is very nice and welcomed. However the size of the grating films supplied with the kit is too small, in my opinion: it is only 1 cm square. Since one of the gratings I received was not cut square, I suspect that they have been hand cut from a much larger sheet of grating film (such gratings films are offered by companies like Edmund Optics who market exactly this type of holographic film on a roll). If Thunder Optics offered the kit to the customer with 2 cm square gratings, this would be much more welcome and easier to handle and tape down into position during alignment.
On the plus side, the metal slits are of excellent quality, and appear to have been laser-cut from thin aluminium sheet. Similar designs found online describing these “paper/card spectroscopes” use razor blades as the slit, with the obvious attendant risk of some cut student fingers in a classroom setting! In additon, the actual edges of a standard consumer razor blade are far from smooth when examined under the microscope.
Overall, this little spectroscope works extremely well when its very low cost is considered. I was able to produce some well-defined spectra from suitable emission line sources as the above results have demonstrated.
Highly recommended as an introduction to spectroscopy for younger minds.
Introduction Several years ago I connected the MS125 spectrometer to a 12 inch Meade LX200 telescope to test its suitability for recording stellar spectra. In…
